A commercially available, cheap mini LED torch may typically be comprised of a white LED, a few button cells and a switch mechanism. One such sample has been diagnosed here. The studied example can be easily duplicated and built by anybody having ordinary technical knowledge.
Before LEDs were invented, incandescent bulbs were the only light emitting devices that could be used easily and cheaply in torches. Although even presently such torches are in use but incandescent bulbs, as we all know being pretty inefficient with power consumption require frequent change of battery and thus such torches ultimately become costly to maintain and run.
With the advent of modern improved high-efficiency white LEDs, producing dazzling lights using negligible power has now become possible, and incandescent torches are slowly becoming obsolete. LED torches in fact are so efficient that there batteries may almost last forever, making them amazing light producing devices.
White LEDs also have built in lenses and therefore may not require additional reflectors, which adds up to their efficiency in creating sharp light patterns However introducing external parabolic reflectors enhances the light many folds and therefore is incorporated with LED torches, which produce near eye-blinding lighting through ordinary power inputs.
In this article we will try to understand the electrical and the mechanical details of a commercially available LED flashlight. Let’s learn the rather straightforward construction of one such sample.
Simple Internal Configurations
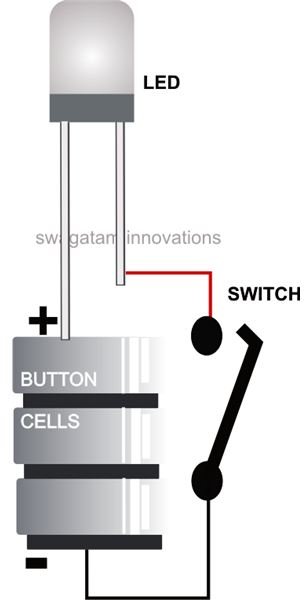
Illuminating an LED is actually very easy as it doesn’t involve much in the way of technical or electronic skills.
Simply by connecting an LED’s anode and cathode terminals to a voltage source the LED can be lit brightly.
However, the one criterion that strictly needs to be followed with LEDs is that the supply voltage should never exceed much above its forward voltage drop, which may be different for different LEDs (colors.)
For example, the forward voltage of a white LED is around 3.6 volts, so the applied voltage should never exceed 4 volts (ideally), but having said that, higher input voltages may be accommodated only if the LED is connected to an appropriately calculated resistor in series.
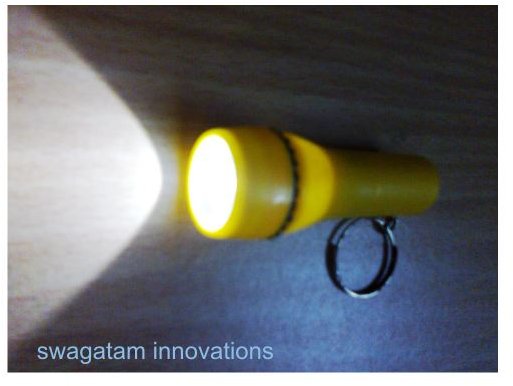
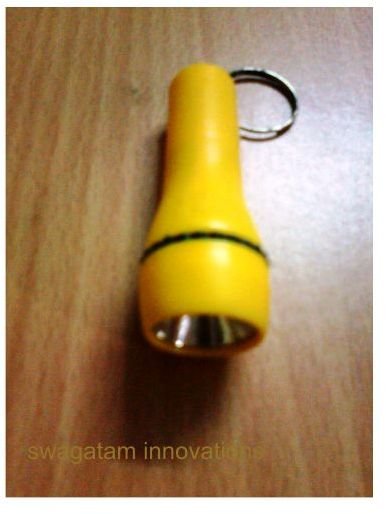
The image alongside shows a mini LED torch, very cheaply available (you can purchase 7 of them just for a dollar) in the market, so it well becomes a “use and throw” kind of device. It basically consists of a single white LED powered by three tiny button cells wired up in series.
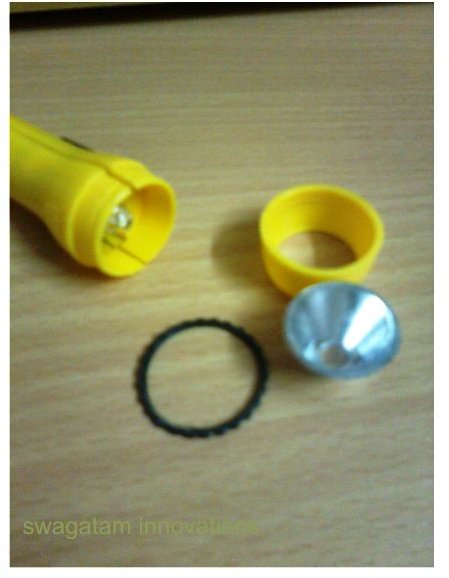
Since each cell produces a potential difference of 1.5 volts, three of them stack up to give a nice 4.5 volts, just perfectly suited for powering a single white LED very brightly (the image simply proves that.)
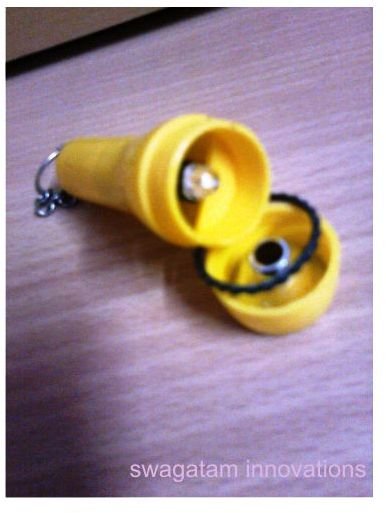
The dissected view of the torch identifies the following stages which can be easily duplicated and built even by an electronic novice:
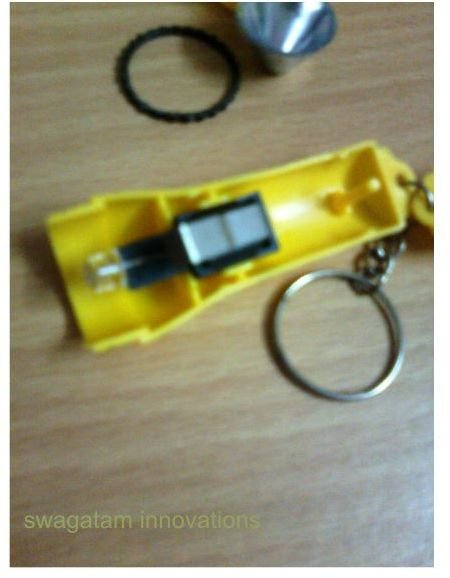
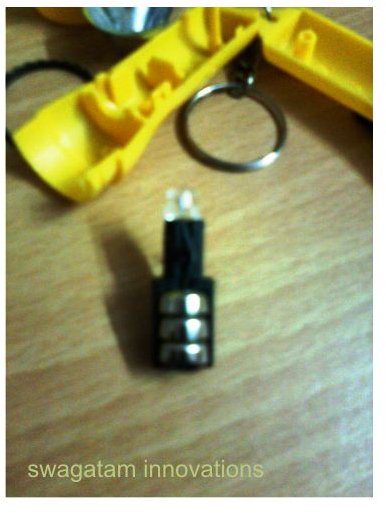
The electrical part of this LED flashlight primarily consists of an LED and three button cells arranged in series, i.e. the negative of the top cell touches the positive of the second cell and the negative of the second cell touches the positive of the third cell, leaving the positive of the first and the negative of the third cell free, so that they may terminated to the LED leads.
The cathode of the LED is permanently joined to the negative of the cell assembly, while the anode connects to the positive of the voltage source via a brass strip, positioned such that it acts like a “leaf switch” to alternately switch the LED ON and OFF in response to the sliding (by finger) of an external mechanism.
Using the Concept for Innovative Applications
As already discussed LEDs being pretty straightforward to wire, a number of interesting small light enhancements can be built using a few or many LEDs and an appropriately rated battery or a voltage source.
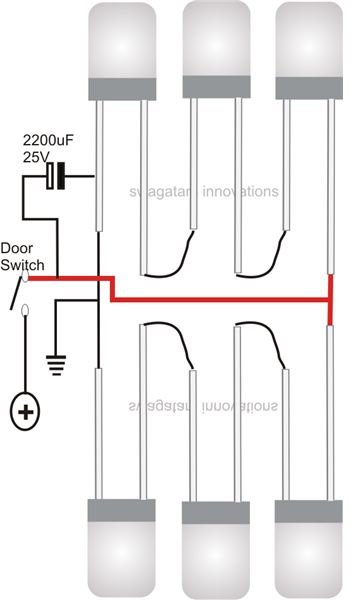
For example, as shown in the diagram six LEDs may be joined together to make a nice little roof light for your car interiors. The positive of the circuit may be connected through the door switch, so that the LEDs light up immediately on opening any one of the doors. By adding a capacitor to it the lights can be made to last for a couple of seconds more even after the doors are closed and the relevant switch is shut OFF.
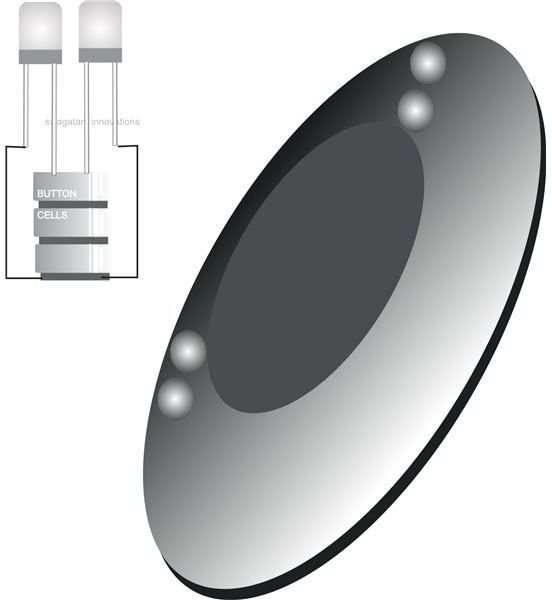
Another application that would definitely amaze your friends is attaching a few LEDs to a normal Frisbee. You can do it by drilling some holes into a regular Frisbee and fixing LEDs in them, which would then be powered through button cells as illustrated in the adjoining diagram.


