Wall mounted air conditioner units have advantages and disadvantages. In this article, we will talk about the installation and maintenance of wall mounted room air conditioners and their comparison with other popular types of air conditioning units.
Advantages of Wall Mount AC Units
Wall mounted air conditioners are not the latest product of modern technology, but they have been tested by the times. They have
numerous advantages, some of which are listed below.
- Affordability is the best thing about wall mounted air conditioners. They are not beyond the reach of a most people, which is not the case with the top of the range high-end air conditioning units.
- They are available in several designs, styles, and sizes, which means you can get suitable equipment according to the size and space available in your room.
- Newer equipment is equipped with inverter technology, which saves energy and reduces your electricity bills by a substantial margin.
- Air conditioning filters and wireless remote control are common features of wall mounted AC units, which means they are very easy to operate and handle.
- No windows will be blocked, and your windows will serve the purpose for which they were built, which is providing you fresh air in the morning and when your AC is not running.
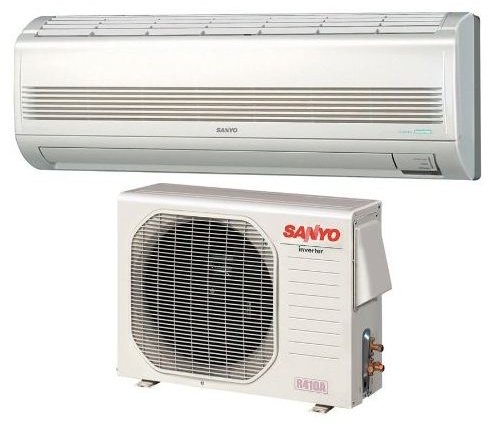
Image: Sanyo Wall-mounted AC from Amazon
Installing a Wall Mounted AC Unit
Wall mounted AC can be installed even when the availability of central air within a room is not possible. The installation procedure is almost similar to that of a window AC. Here in simple five steps are some of the different aspects involved in a wall mount AC installation procedure.
- If installing a surface-mount unit, such as illustrated above, check the instructions to see if a wood frame or backing plate is required. If so, this can be locally procured, finished as desired, and installed with wood screws directly into wall studs.
- If you are installing a through-wall unit, locate the best installation point on your wall that can cover the entire room symmetrically. Proper location of the installation point is important in ensuring that the air flow is equally distributed to different parts of the room, and for the best appearance, too. Preferably pick a portion of the wall that is free from internal wiring, pipes, and electrical fittings.
- After finalizing the location point, mark the wall against dimensions of your air conditioning unit. The accepted rule is to measure thrice and cut once. If you are not a handyman or not familiar with working with wall board, you may want to practice some skills, like drilling and cutting, before attacking your wall. It’s also fine if you decide that you’d prefer to have a professional do this for you.
- Always place your through-wall unit inside a frame, as it will help support the heavy unit. Having the unit in direct contact with a concrete wall is never advisable because moisture and current passage in the wall are potential threats that might arise. A plywood or wooden frame is very helpful for placing the AC unit. Do not force or push any component or part of the AC unit because it might result in the device malfunctioning.
- Another suitable and safe method is to install the AC shell (case) first and when it fits, then insert the AC chassis inside. This avoids any component damage, and if there is any bad push or force involved, it will damage the case only, which can be repaired more easily.
- Once the unit has been mounted, seal all the open gaps with insulation pieces or silicone caulk so that moisture and hot air stay out of reach of your air conditioning unit.
Precautionary Measures
- Do not switch on the main electrical supply unless the installation procedure is complete.
- Installing beneath a window will not only make hole in your wall less noticeable, but it will also ensure that you do not have to install headers to take care of supporting loads. Watch out for electrical outlets beneath your windows, however.
- For through-wall units, keep the backside of the unit free from dust, moisture, leaves, and grease, etc. because if these substances are present, they may not let your AC unit work normally. The same applies to the outside units in the wall-mount, split-AC types.
- Gloves, shoes, and a first-aid kit are must have items while working on the installation of wall mounted air conditioner units.
Important Guidelines
Now that we have learned about installation procedure, we must know about different types of wall-mount AC units so that we can choose according to our needs and requirements.
- Americans most often use 110 volt supply, while almost every other country in the world operates on 220 volt supply. If your AC unit is designed only for 100 volt supply, then you will need a voltage converter to use your device in a 220 volt supply region. However, most of the AC units nowadays are equipped with a 110-220 volt built-in transformer.
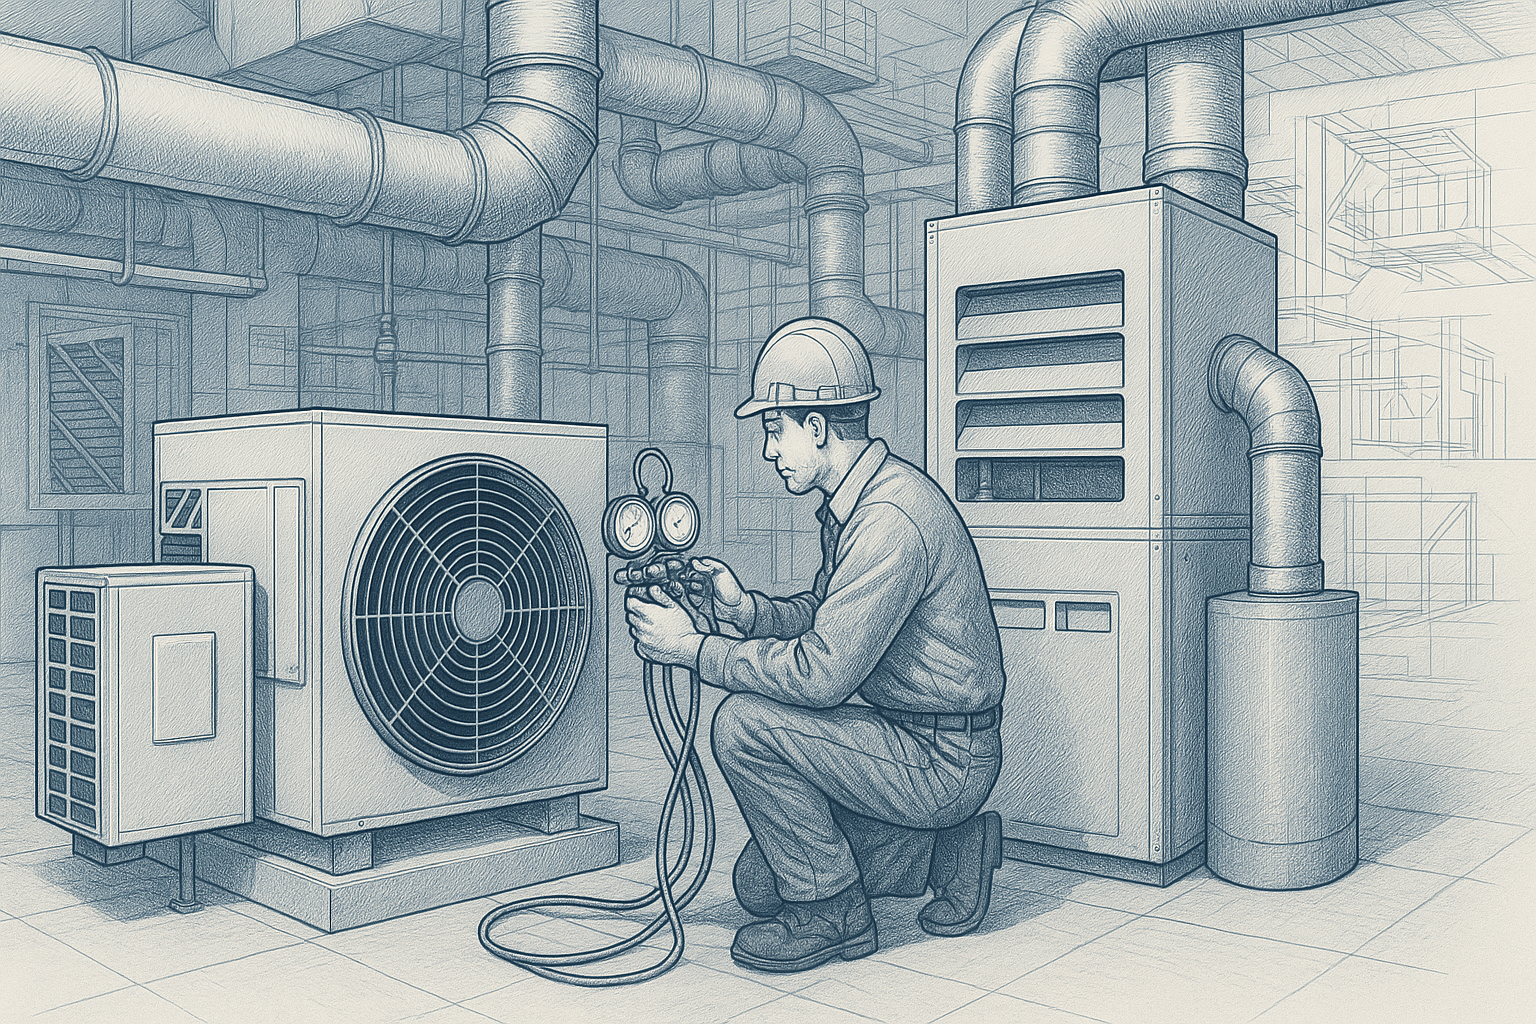
- You probably WILL want to get a professional to provide the initial coolant charge and check your wiring.
- Clean the air filters regularly to reduce electricity consumption. A soapy solution is the best medium to wash foam type air filters, while tapping and dusting helps with the paper type.
- Look for the Energy Star rating on your device. The higher the energy rating, the less you will pay for your electricity bill.
References
Author’s Self Experience
Installation Instructions for Wall mount AC, https://www.enviro-fleet.com/pdf/Backwall-Install.pdf
Air Conditioning - Simple Installation Guide, https://www.yourwelcome.co.uk/catalogue/Installation_Guide_12000BTU.pdf