Programming embedded systems 1 - Creating hex file for the microcontroller
Programming the embedded systems using C++
We have learnt about the basics of embedded systems in our previous article. Now we shall proceed to learn about the concepts of programming an embedded system. The language to be used for this purpose will be the popular C++ programming language. You can take a note of the images towards the bottom section of this article which give you a visual description of the various steps outlined in the main body of this article. Just try to correlate what you read along with those pictures and surely you will find it a great tutorial to learn it in a very easy and simple manner
Creating Hex file for Microcontroller
How to create your first program in C++ for embedded system? How to compile it to create a standard hex file to run it on embedded hardware? Which step should be followed to create Intel hex file. Find out the answers of theses question in this step by step tutorial.
To run the embedded hardware for specific task it need to be programmed first. The controller will perform task according to the routine written in the program .To program the embedded system we write a decent code in C++ or assembly language and compile it to create a standard Intel hex file. Because the microcontroller only understands the language of zeros and one’s that is the binary language.
Following instruction will be followed to create a successful standard Intel hex file
INSTRUCTIONS
-
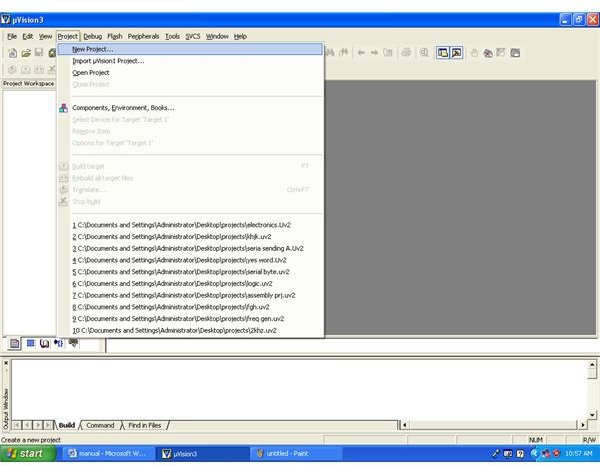
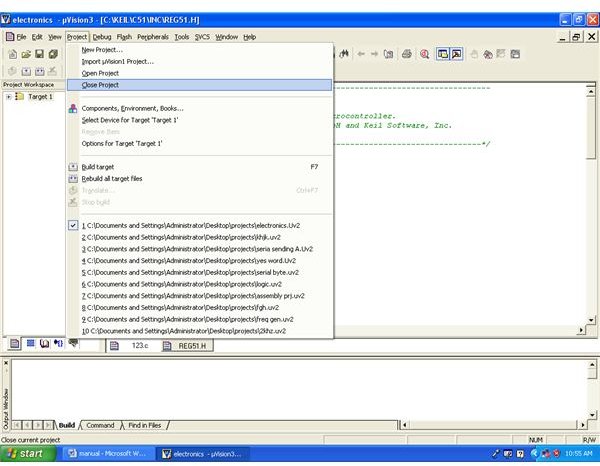
Go to project on main menu and closed the old project (See fig 1.0)
-
Click on project and new project (See fig 1.1)
-
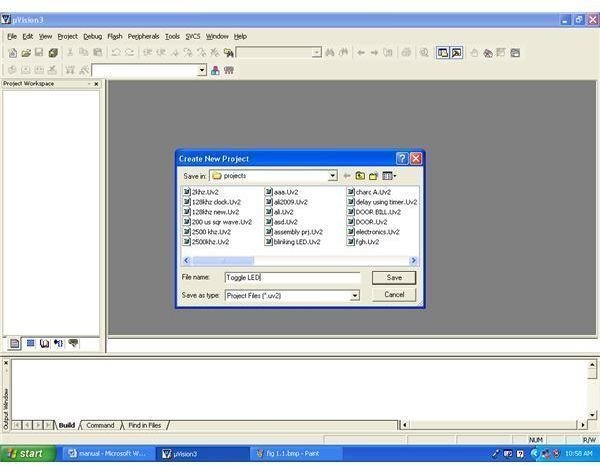
Save project say “Toggle LED” (See Fig 1.2)
-
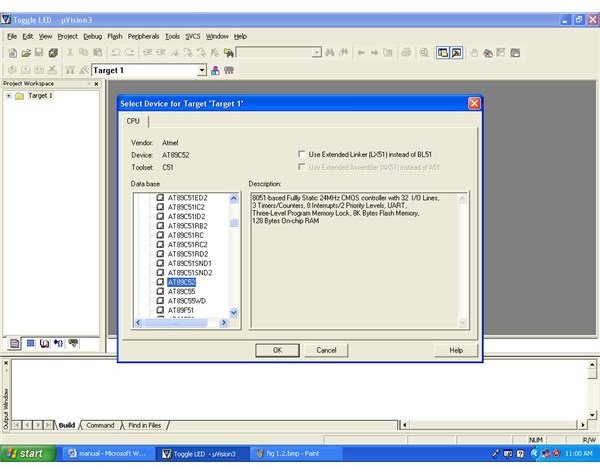
After saving file, a menu appears for selecting controller device .We are using AT89C52 Atmal microcontroller. (See fig 1.3)
-
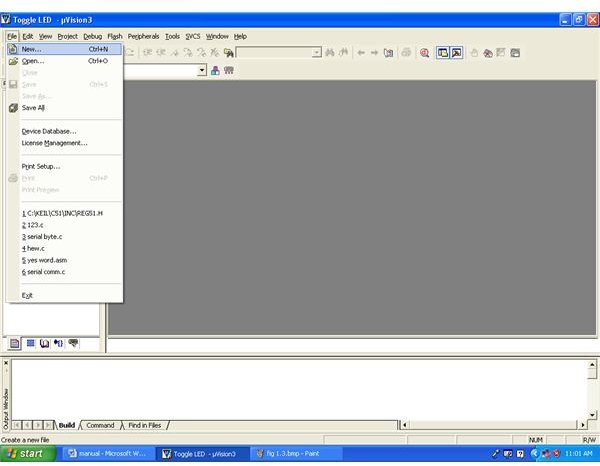
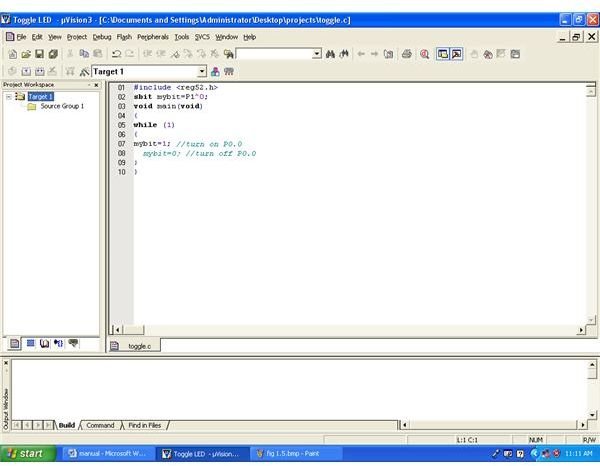
Click File menu then new file and write your C code. (See fig 1.4)
-
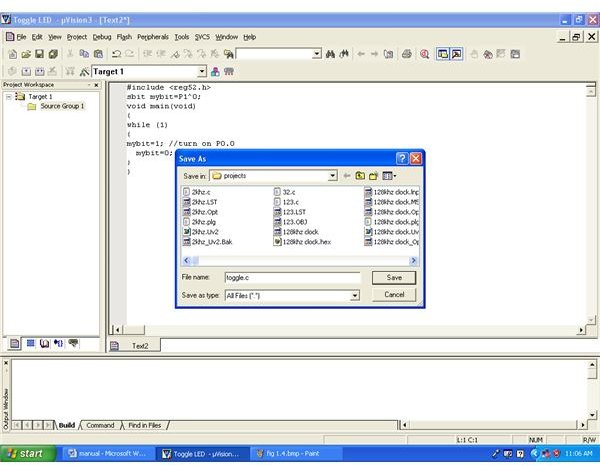
Click File menu and go to save as option, and save it with “toggle.c”, where c shows extension of file. (See fig 1.5)
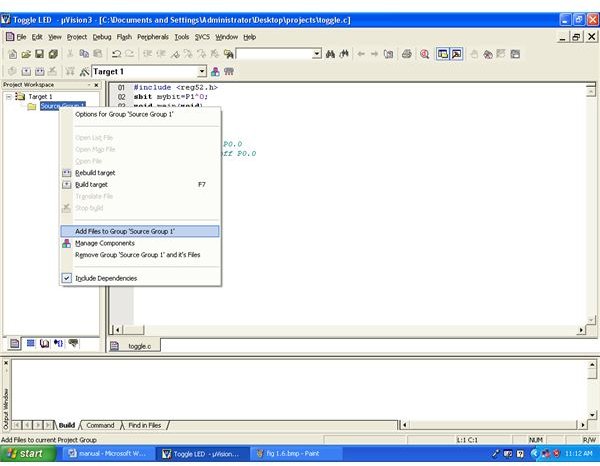
7. On left side of window a small window, Project Workspace then click on target another folder Source group will appear. (See fig 1.6)
- Right click on Source group folder and click on Add file to “Source group”. (See fig 1.7)
- Another menu will appear asking to add the source C code you have just created. Here we select “Toggle.c” click on add and then click on close. (Fig 1.8)
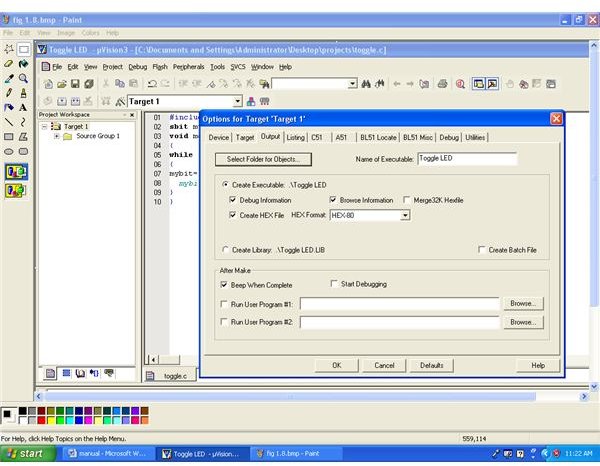
10. To select the target where you want to save the compiled “C”,and click on” option for target, a new window appear, click on output option, select the directory to save file and check the Create hex file option. (See fig 1.9)
-
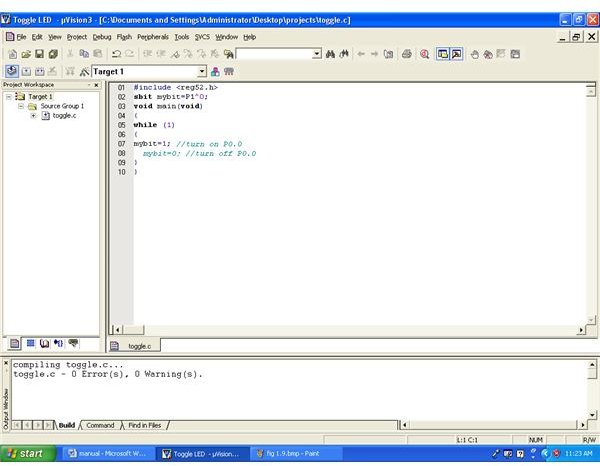
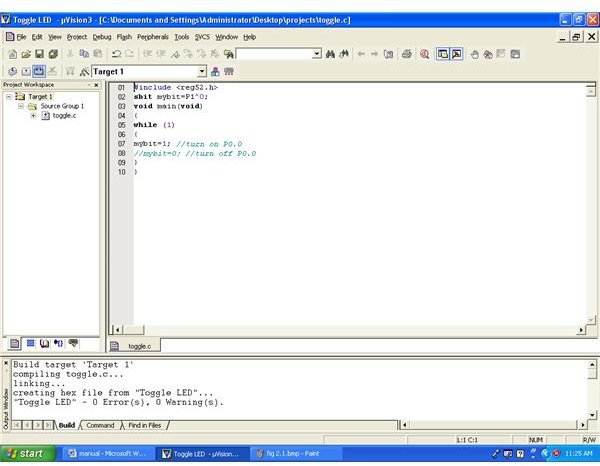
Compile source file by clicking on Translate current file icon (See fig 2.0)
-
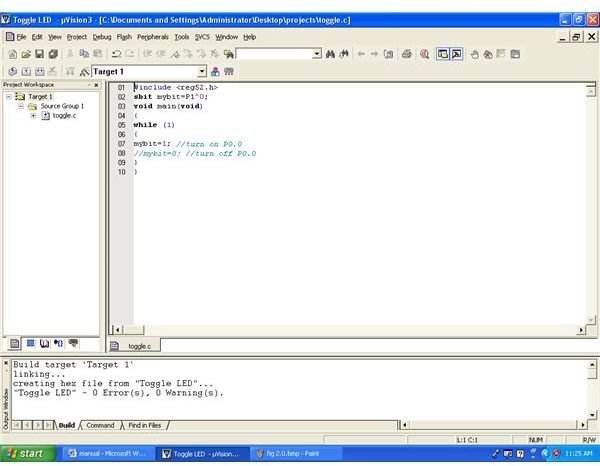
Click on Build target (See fig 2.1)
-
Click on Rebuild all target files (See fig 2.2)
You have successfully created a hex file
Creating Hex file for Microcontroller (images)